

Rental Led Display: Quick Setup Tips
Setting up a Rental Led Display might feel like a challenge, especially on a busy event site. There is a demand for rapid deployment of that brilliant seamless video wall. Wether for the first time or having sound knowledge, you are going to need some tips to help organize yourself. Smoother activities depend on the worked researched tips. This guide will show the important first steps that will enable you to get going.
Pre-event Preparation is Key
Pre-event preparation is like a backstage rehearsal for a show – it makes the performance seamless. Confirming that all the equipment is available, working, and correctly set up long before you step foot on the site is key. Start with all the components laid out in a clean, static-free workspace. Using an LED tester, check all the LED modules for dead pixels and physical damage. Finding a faulty module in the middle of setup is a disaster! Next comes the sorting of cables, power supplies, and receiving cards. Color coding or shape coding safeguard the connectors for the connectors, cables, and modules which saves time during set up, especially in the dark. For the lightweight, highly transparent RB Series panels, there are some additional measures: All modules – additional panels, modifiers, or curve locks for the concave and convex combinations of curve locks – and their accessories should be within easy reach and correctly sorted. Lighting up a single cabinet should confirm that it and the receiving card are communicating. The modules, as well as the power, should be on. This level of preparation exceeds the common and basic standards of the modules. Knowing that you are prepared means you can walk on site with complete confidence, tailored and ready to go!
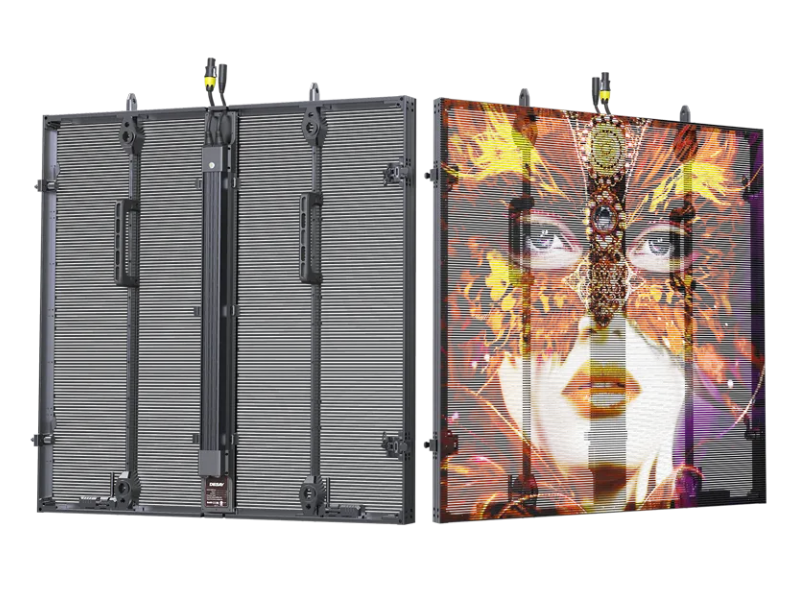
Mastering the Modular Assembly
Fast assembly is aided by modular, clean build styles. The latest rental LED displays, such as the RB Series, work with 1000mm x 1000mm panels, which helps with design. Secure the LED modules into the cabinet by placing them in the designated slots, then clamping or screwing them into position. If your panels attach magnetically or with a quick lock system, you really can relish the set-up, as this saves a lot of time. The next step is a critical one: the installation of the signal distribution components and power supplies. Securely mount the LED power supplies onto the cabinet' back plate and attach the grounding wire for safety. Always ground the lead, as a good ground minimizes signal interference which can lead to flicking or noisy displays. Then connect the power sockets which are usually color coded, e.g. blue is power input and white is output after which the signal aviator connectors at the bottom of the cabinet are attached. Finally, the section of the display referred to as the ‘receiving card’ is installed. It serves as the ‘brains’ of that section, linking to the control system. Each cabinet can be treated in the same planned, repeatable manner leading to the opportunity to work in parallel, stacking and connecting multiple units at the same time.
Efficient Power and Signal Management
Each show’s power and signal distribution has to be secure for the show to go as planned. The worst mistakes when setting up the show is the cabling. People think they are organized, but they make it difficult for themselves, resulting in power drops or signal loss. Power distribution networks need to be planned. Power cables should be the appropriate gauge, and the connection should be tight and secure. It is better to have power come from multiple circuits to larger displays. For the signal path, the sending device, the primary receiving card and cabinets are connected to a daisy-chain. One of the best cables for daisy-chain circuits are reliable network cables. The minimum refresh rate to achieve a sharp, flicker free is 3840Hz, or above. You should also be mindful of the refresh rate and scanning mode. A refresh rate of 3840Hz or above is better for smoother playback when the lights are on or when recording. Signal wires and power cables should be at least 10 centermeters apart from one another to prevent electromagnetic interference. Noise can be put under control using shielded cables, adding ferrite cores and ensuring a clean signal is transmitted from the first cabinets to the last.
Achieving a Flawless Final Display
When all cabinets are mechanically assembled and powered, the last step is to make the cabinets function together as one single canvas which requires both physical alignment and software configuration. When lifting and attaching the cabinets on the truss, or frame, to each other, fasten them together with the quick locks to make the surface smooth and seamless with no gaps or bumps. The splicing and column splicing at right angles enables creative stage designs. Let's move on to the next step, software. The system should now be connected to the computer running the LED control software. I need to set the entire video wall resolution, check network connectivity with each receiving card, and reset the brightness and color settings to make them basic. Before the event goes live, run a full color test pattern and a stress test to check for weak links, dead pixels, or color discrepancies. This is the last LED test to make sure the display will deliver stunning visuals to the audience right as the show starts.

