

How to Calibrate Curved Led Screen Properly?
Curved LED screens have become a common sight in shopping centers, large events, and television studios. These screens are visually appealing, especially when incorporated into different architectural spaces and design elements. However, achieving a seamless and perfect image takes more than simply mounting the display. Proper calibration is essential to obtain a perfect image with the correct colors and consistent brightness. Without proper calibration, all the immersive qualities of these displays are lost. So what does calibrating a curved LED screen involve, and how is it done? Let us go through it step by step.
The Importance of Screen Calibration
Curved displays work differently than flat displays because of the eye's perspective at various points on the screen. Distance and perspective affect how we perceive brightness and color. This can lead to issues where different parts of the screen look different. Calibration ensures that brightness and color are uniform across the entire surface. It makes sure the screen looks great from every angle. This is especially important for high profile uses, like in major events or busy city plazas, where the screen needs to impress everyone who sees it.
Before You Start: What You Will Need
The first step in preparing to calibrate a curved LED screen is to gather the right equipment. You will need the correct software. Most manufacturers develop their own calibration software tailored for their specific screens. Make sure you have the most recent version. You will also need a high quality calibration tool, likely a colorimeter or a spectrometer. These devices measure the actual light coming from the screen. Using a good quality device will give you better results. A reliable computer to run the software is also necessary. Do not forget about the physical environment where you will be working. A clean, dust free space is best to ensure your measurements are accurate. Having the right tools and software ready will save you a lot of time and frustration later.
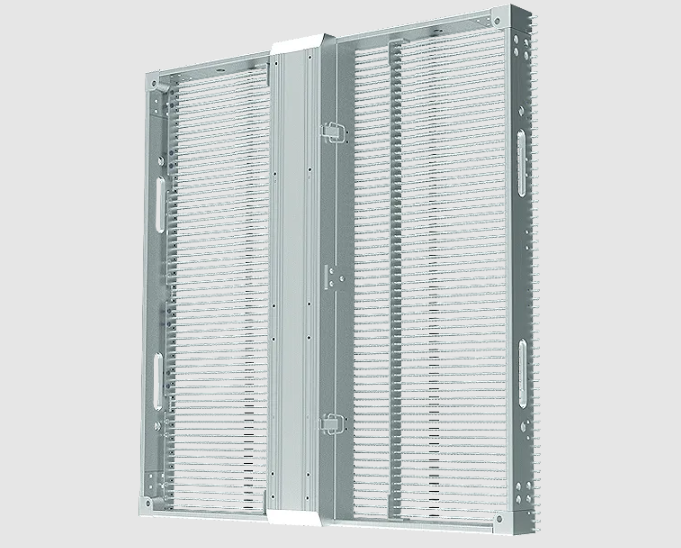
Checking the Physical Installation
Before you touch any software, you need to verify that the screen itself is properly installed. For a curved LED screen, this step is extremely important. Make sure all the cabinet connections are tight and secure. The curve should be smooth and even. There should be no gaps between panels and no misalignment. Software calibration cannot fix physical problems. Walk along the entire surface of the screen. Look closely at the seams between panels. They should be consistent and tight. If anything is not right, now is the time to adjust the hardware. Without a solid physical foundation, it is impossible to get a good final image. Companies that have installed thousands of successful projects all over the world pay close attention to this stage because they know how much it matters.
Connecting and Setting Up the Software
After confirming the hardware is set up correctly, the next step is to run the calibration software. Start by connecting your computer to the control system of the LED screen. Then, launch the software and check if it detects all the individual modules. A large screen might consist of hundreds of modules. The software should show you an overview of the entire display. Take a moment to make sure every module is communicating properly with the software. This is also the time to set your target parameters. What white point are you aiming for? What gamma curve do you need? These choices will depend on where the screen will be used. A screen for an indoor TV studio has different requirements than a large outdoor display in a plaza. Knowing your target before you start gives you clear direction for the whole process.
The Measurement Process
Now comes the practical part: taking measurements. You will use your colorimeter to measure the screen's output. The software will usually guide you through this. It might ask you to place the sensor on specific spots across the screen. When working with a curved screen, you have to be very careful. The angle of the sensor relative to the LED surface can affect the reading. Try to hold it as perpendicular as possible to the part of the screen you are measuring. The software will send test patterns to the screen, and the sensor will capture the real color and brightness values. This data is the foundation of your calibration. It tells the software exactly what each part of the screen is doing right now. The more measurement points you take, the more accurate your final calibration will be. It takes time, but it is absolutely worth the effort.
Adjusting the Data and Creating a Correction Map
Once all the measurement data is collected, the software gets to work. It compares what the screen is actually doing to what it should be doing based on your target settings. Then it creates a correction map. This map is a detailed set of instructions that tells each individual LED how to adjust its output. For a curved screen, the software also has to account for the geometry of the display. The goal is to make every pixel across that curved surface look identical in color and brightness. After the software finishes calculating the corrections, it uploads this data to the screen's control system. The screen now has a custom profile designed just for its unique physical characteristics.
Verifying the Results
After the calibration data is uploaded, the real test begins. You now need to verify that the calibration worked. Put the screen through its paces. Display full white, full black, and a range of different colors. Look closely at the entire screen for any areas that seem off. Also, walk around the screen and view it from different angles. A well calibrated curved screen should look stunning and uniform no matter where you are in the viewing area. If you notice any problems, you may need to go back and take more measurements or adjust your targets. This verification step is crucial, especially for commercial installations where the screen will be seen by countless people. Any company that has done enough high level work knows that these final checks are what separate a good job from a great one.
Ongoing Maintenance and Recalibration
Calibration is not something you do just once. Over time, LED screens change. LEDs slowly dim with age, and they do not all age at the same rate. This means that a screen which was perfectly calibrated a year ago might start to show some unevenness. For permanent installations, especially those using high quality components, regular recalibration is a good practice. It helps keep the screen looking its best for many years. Many modern systems make this easier by allowing you to store calibration data and perform quick updates. Think of calibration as part of your regular maintenance routine, much like cleaning the screen or checking the connections. It is an investment in keeping your display looking professional and visually impressive.
Trusting the Experts
Finally, remember that proper screen calibration takes both knowledge and experience. While the basic steps are fairly simple, achieving a perfect result on a large, curved LED screen can be complex. This is where working with a reputable manufacturer or an experienced installation team really pays off. Companies that have been in the LED industry for decades and have completed thousands of projects worldwide possess a great depth of experience. They understand the nuances of different screen types, know how to select the best calibration tools, and are skilled at troubleshooting problems. For major projects, leaning on that expertise is a smart move. A perfectly calibrated curved LED screen grabs attention, delivers your message clearly, and creates a memorable experience. Getting it right is a great reward for all your effort.

